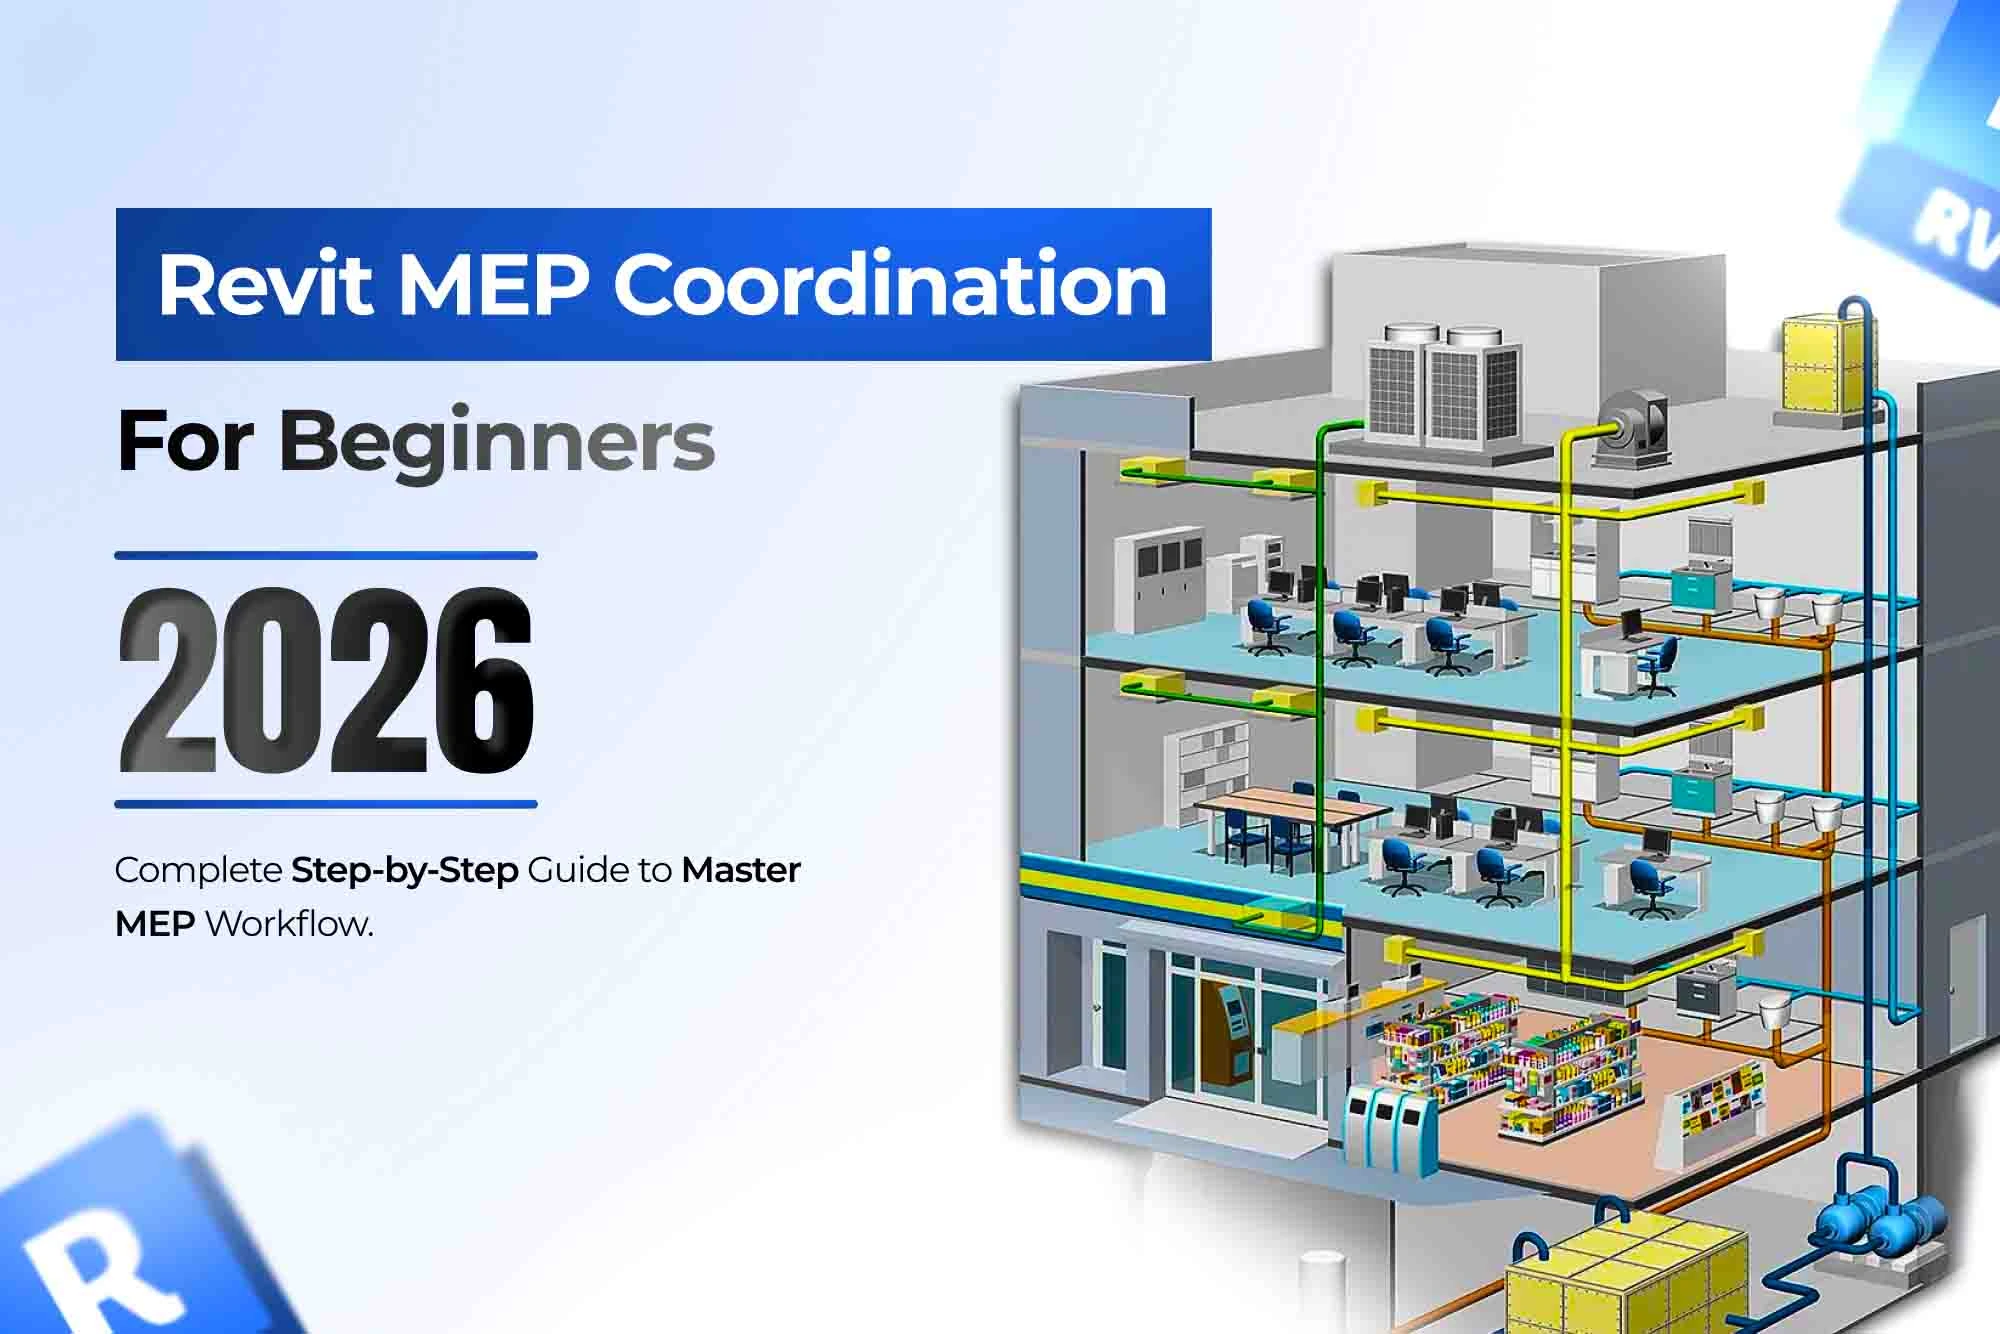


How to Design Electrical Circuits in Revit MEP – Step-by-Step Electrical Workflow
Introduction
In modern building design, electrical systems are just as critical as the structural and architectural components. From lighting and receptacles to power distribution panels, every element must be carefully planned and documented to ensure safety, reliability, and efficiency. This is where Revit MEP (Mechanical, Electrical, and Plumbing) plays a transformative role.
Revit MEP offers a digital platform that enables engineers, designers, and contractors to design, connect, and analyze electrical circuits within a single building information model (BIM). It eliminates the need for manual drafting, reduces human error, and provides real-time coordination with architectural and structural models.
This blog will walk you through a step-by-step workflow for designing electrical circuits in Revit MEP. We’ll cover equipment placement, circuit creation, panel assignment, load analysis, and documentation. By the end, you’ll understand how to leverage Revit MEP to design circuits more efficiently and accurately.
Section A: Why Use Revit MEP for Electrical Circuit Design?
Before proceeding with the steps, it’s essential to understand why Revit MEP is the preferred tool for electrical engineers and designers.
Parametric Modeling: Every element in Revit is data-rich. This means fixtures, panels, and devices carry properties like load, voltage, and location, making it easier to connect circuits.
Automatic Updates: Any change in the model automatically reflects across schedules, drawings, and 3D views.
Coordination: Revit MEP integrates electrical systems with architectural and mechanical models, reducing clashes and ensuring better design quality.
Error Reduction: The software automatically warns if loads exceed capacity, helping engineers prevent costly mistakes.
Time Savings: Automated panel schedules and circuit documentation reduce hours of manual drafting and calculations.
By combining modeling and documentation in one place, Revit MEP empowers electrical engineers to focus on system performance instead of repetitive drafting tasks.

Section B: Step-by-Step Workflow for Designing Electrical Circuits in Revit MEP
Designing electrical circuits in Revit MEP involves a systematic workflow. Below is a detailed explanation of each step.
1. Place Equipment and Fixtures
Start by placing your distribution equipment and electrical fixtures in the model.
Use the Electrical Equipment tool to place panels, switchboards, and transformers.
Use the Electrical Fixture tool to add lighting fixtures, outlets, or receptacles.
These components form the foundation of your electrical system. Accurate placement ensures circuits will connect logically to the correct devices and panels.
2. Create Circuits
Once fixtures and equipment are placed, you can create circuits:
Select the unassigned devices or fixtures.
In the Create Systems panel, click Power → Create Circuit.
The selected devices will be grouped into a new circuit, ready to be assigned to a panel.
This method ensures that lighting, receptacles, or equipment circuits are logically separated for better control and load distribution.
3. Assign to Panels
After creating a circuit, it must be linked to a panel:
From the properties dropdown menu, select the desired panel.
Revit MEP automatically connects the circuit to that panel and tracks its load.
This step is critical for accurate load management and schedule generation. It also ensures that the electrical design aligns with real-world distribution systems.
4. Edit Circuits
Revit MEP makes it easy to edit existing circuits:
Select any fixture in a circuit.
Use the Edit Circuit tool to add or remove devices.
This flexibility allows you to adjust circuits during design revisions or when accommodating changes in building requirements.
5. Check Panel Loads
Safety is at the core of electrical engineering. Revit MEP automatically checks the total connected load on a panel.
If the connected load exceeds 80% of the panel’s rated capacity, Revit issues a warning.
This enables designers to adjust loads, reassign circuits, or resize panels early in the design phase.
This built-in safeguard ensures compliance with electrical standards and prevents overloads.
6. Generate Panel Schedules
One of the biggest time-saving features in Revit MEP is the ability to generate panel schedules automatically.
Select the panel and choose Panel Schedule.
Pick a schedule template, and Revit will auto-populate the schedule with connected circuits, load values, and panel data.
Compared to manual methods in Excel or CAD drafting, this feature reduces errors and ensures that schedules are always in sync with the model.
Section C: Key Features That Help Circuit Designers
Revit MEP goes beyond basic circuit connections. It offers several powerful tools to enhance productivity and accuracy.
1. Smart Circuit Information
Revit allows the use of smart panels and circuits with embedded properties like voltage, load, and phase. This enables quick analysis and better design decisions.
2. Automatic Panel Schedules
Instead of manually drafting schedules, engineers can generate them directly from the model. This not only saves time but also ensures schedules are dynamically linked to the design.
3. Automated Documentation
Device information, such as room names and numbers, can be auto-filled from the architectural model. This ensures consistency across documentation without extra effort.
4. Circuit Rebalancing
Revit offers tools to rebalance circuits with just a few clicks, automatically updating circuit tags and callouts.
5. Circuit Path Calculation
Revit can calculate circuit lengths. With the help of Dynamo scripts, even complex paths through conduits or cable trays can be automated, improving accuracy in material take-offs.
Section D: Why Training Matters
While Revit MEP simplifies electrical circuit design, mastering the software requires guidance and practice. Professional training ensures that learners not only understand the tools but also know how to apply them effectively in real-world projects.
At S2B CADD Center, specialized courses cover:
Electrical system design workflows
Circuit creation and panel scheduling
Load analysis and balancing
Documentation and project standards
If you’re an electrical engineering student or professional, consider enrolling in our Revit MEP training for electrical engineering. This structured program builds both technical skills and industry readiness.
Conclusion
Designing electrical circuits in Revit MEP is not just about connecting devices; it’s about building smarter, safer, and more efficient electrical systems. With tools for circuit creation, panel load checks, automatic schedules, and real-time coordination, Revit MEP allows electrical engineers to deliver high-quality designs faster and with fewer errors.
Whether you’re working on residential, commercial, or industrial projects, mastering electrical design in Revit MEP is a valuable step toward becoming industry-ready. And with the right training, you can unlock the full potential of this powerful BIM software to advance your career in electrical engineering.
Frequently Asked Questions
1. What is the purpose of creating circuits in Revit MEP electrical design?
Creating circuits in Revit MEP helps organize electrical devices, lighting, and panels into a structured workflow. It ensures accurate load calculations, prevents overloading, and allows automatic generation of panel schedules. This saves time, reduces errors, and helps engineers maintain a coordinated electrical system throughout the building.
2. What is Revit MEP electrical?
Revit MEP electrical is a specialized module of Revit software designed for creating, modeling, and documenting electrical systems in buildings. It allows engineers to place panels, fixtures, and devices, plan circuits, and integrate electrical layouts seamlessly with mechanical and plumbing systems, ensuring a smooth BIM workflow.
3. What is the salary of a Revit MEP engineer in India?
The salary of a Revit MEP engineer in India depends on experience, location, and the organization. Entry-level engineers typically earn between ₹3.5–5 lakhs per year, while experienced professionals can earn ₹8–15 lakhs annually. Salaries may be higher in large engineering firms or for specialized projects.
4. What are circuits, and what is their purpose?
Circuits are a closed path through which electricity flows to power devices and fixtures. Their purpose is to safely distribute electrical power from panels to lights, outlets, and equipment. Properly designed circuits ensure efficient energy use, prevent overloads, and maintain safety.
5. Can I use Revit for Electrical design?
Yes, Revit MEP is widely used for electrical system design in buildings. It allows engineers to plan circuits, design layouts, manage panels, and integrate electrical systems with other building services. Using Revit reduces clashes, ensures precise modeling, and supports coordinated documentation for efficient construction management.