


How to Design a Ceiling Using Revit – A Complete Guide
Introduction
In modern architecture and interior design, ceilings are more than just structural components – they define aesthetics, enhance lighting, improve acoustics, and contribute to the overall comfort of a space. Designing ceilings accurately requires precision, and this is where Revit stands out as one of the most powerful tools for architects, interior designers, and civil engineers.
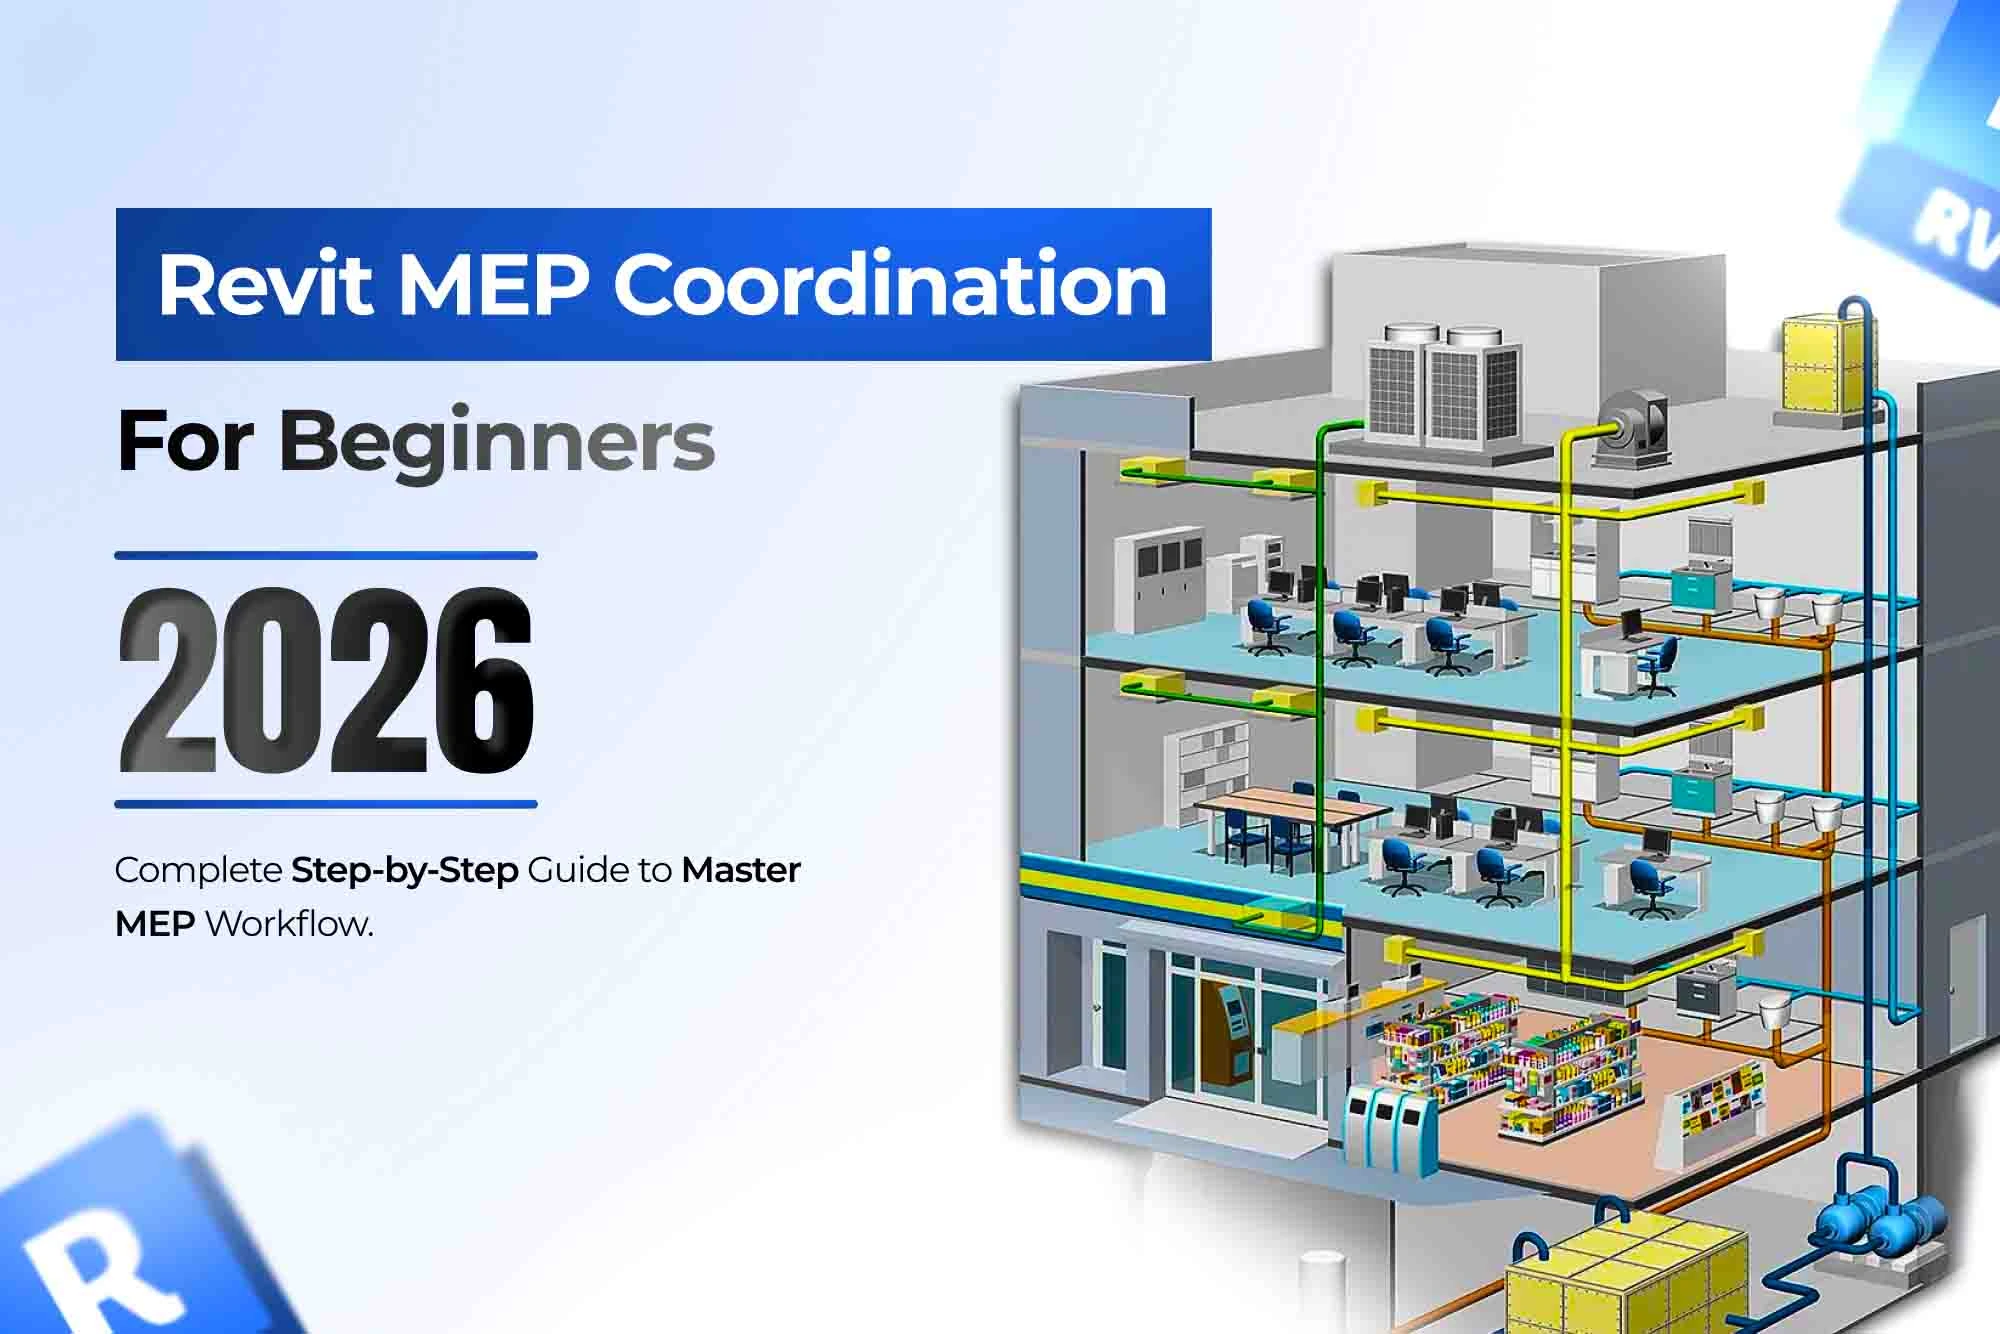
Ceiling design using Revit allows professionals to create detailed 3D models, customize layouts, and integrate mechanical, electrical, and plumbing (MEP) systems seamlessly. For students and professionals in Madurai, learning this skill through structured CADD software training can open doors to high-demand roles in architecture and construction.
In this blog, we’ll walk you through:
Key concepts of ceiling design in Revit
Step-by-step ceiling creation process
Advantages of mastering ceiling design
Why training at a professional CADD center in Madurai makes a difference
Key Concepts of Ceiling Design in Revit
1. Purpose of Ceiling Design
Visual Appeal: Ceilings add depth and creativity to interiors.
Functional Integration: They house lighting, HVAC systems, and acoustic panels.
Spatial Definition: False ceilings, coffers, and decorative panels define zones in open spaces.
2. Types of Ceilings in Revit
Compound Ceilings: Standard ceilings with multiple layers, like gypsum board and insulation.
Custom Ceilings: Designed with patterns, panels, or architectural elements.
Reflected Ceiling Plans (RCP): Specialized views in Revit used for planning fixtures and finishes.
3. Why Use Revit for Ceilings?
Revit offers BIM (Building Information Modeling) integration, meaning ceilings aren’t just visual elements – they interact with other building components. For example, lighting fixtures can be mounted directly to ceiling elements, and MEP systems can be coordinated without clashes.
Step-by-Step Process: Designing Ceilings in Revit
Step 1: Open Reflected Ceiling Plan
Go to the Project Browser → Select Reflected Ceiling Plans.
This view is specifically designed for ceiling modeling and fixture placement.
Step 2: Choose Ceiling Tool
Navigate to the Architecture tab → Build panel → Ceiling.
You can select either Automatic Ceiling (quick placement in closed rooms) or Sketch Ceiling (for custom layouts).
Step 3: Define Ceiling Type
In the Properties palette, choose the ceiling type (e.g., Acoustic Tile, Gypsum Board, Custom Compound).
You can also duplicate and edit ceiling types to adjust thickness, layers, or finishes.
Step 4: Place the Ceiling
Automatic Ceiling: Click inside a bounded room, and Revit will generate the ceiling automatically.
Sketch Ceiling: Use sketch tools (Line, Arc, Rectangle, Pick Walls) to draw the ceiling boundary.
Step 5: Adjust Height and Properties
In the Options Bar, set the height offset from the level (e.g., 3000 mm above floor level).
Modify ceiling materials, patterns, and structure from Edit Type.
Step 6: Add Fixtures
Switch to the ceiling plan view to add lights, sprinklers, air diffusers, or ceiling fans.
Fixtures automatically attach to the ceiling surface.
Step 7: Refine in 3D View
Open the 3D view to visualize the ceiling design with fixtures.
Adjust alignment, height, or material finishes to match the design intent.
Advantages of Learning Ceiling Design in Revit
1. Precision and Efficiency
Revit automates repetitive tasks, such as ceiling placement and fixture alignment, saving time while ensuring accuracy.
2. Enhanced Collaboration
Ceilings designed in Revit integrate smoothly with architectural and MEP models, avoiding costly on-site errors.
3. Visualization and Client Communication
3D models and renderings allow architects and designers to present ceiling concepts clearly to clients.
4. Career Growth
Proficiency in ceiling modeling adds value for civil engineers, architects, and interior designers, making them industry-ready.
Why Learn Ceiling Design at a CADD Center in Madurai?
Mastering Revit requires expert guidance, structured practice, and exposure to real-world projects.
At CADD Revit Training, you’ll learn:
Complete Revit workflow (walls, roofs, ceilings, floors, and MEP integration).
Hands-on ceiling design projects with both residential and commercial layouts.
Advanced modeling techniques for false ceilings, custom panels, and lighting integration.
Guidance from experienced civil engineers and certified trainers.
Check our How to Design Roofs in Revit – Step-by-Step Process blog for a complete guide to roof modeling techniques.
Conclusion
Ceiling design using Revit is not just about drawing flat surfaces – it’s about creating functional, aesthetic, and coordinated building elements that elevate modern architecture. With step-by-step mastery of ceiling tools, customization options, and fixture integration, professionals can deliver error-free, client-ready designs.
For students and working professionals in Madurai, joining a specialized CADD center ensures hands-on learning, expert mentorship, and career-focused training. Whether you’re an aspiring architect, interior designer, or civil engineer, ceiling design in Revit is a must-have skill for the future.
Author Bio
I’m Indhurani, a Civil Engineer and expert mentor at S2B CADD Training Center. I help students and professionals gain hands-on Revit skills, focusing on precision modeling, workflow efficiency, and integration of advanced architectural concepts.