


Revit Floor Plans with Openings & Finishes | Step-by-Step Guide
Introduction
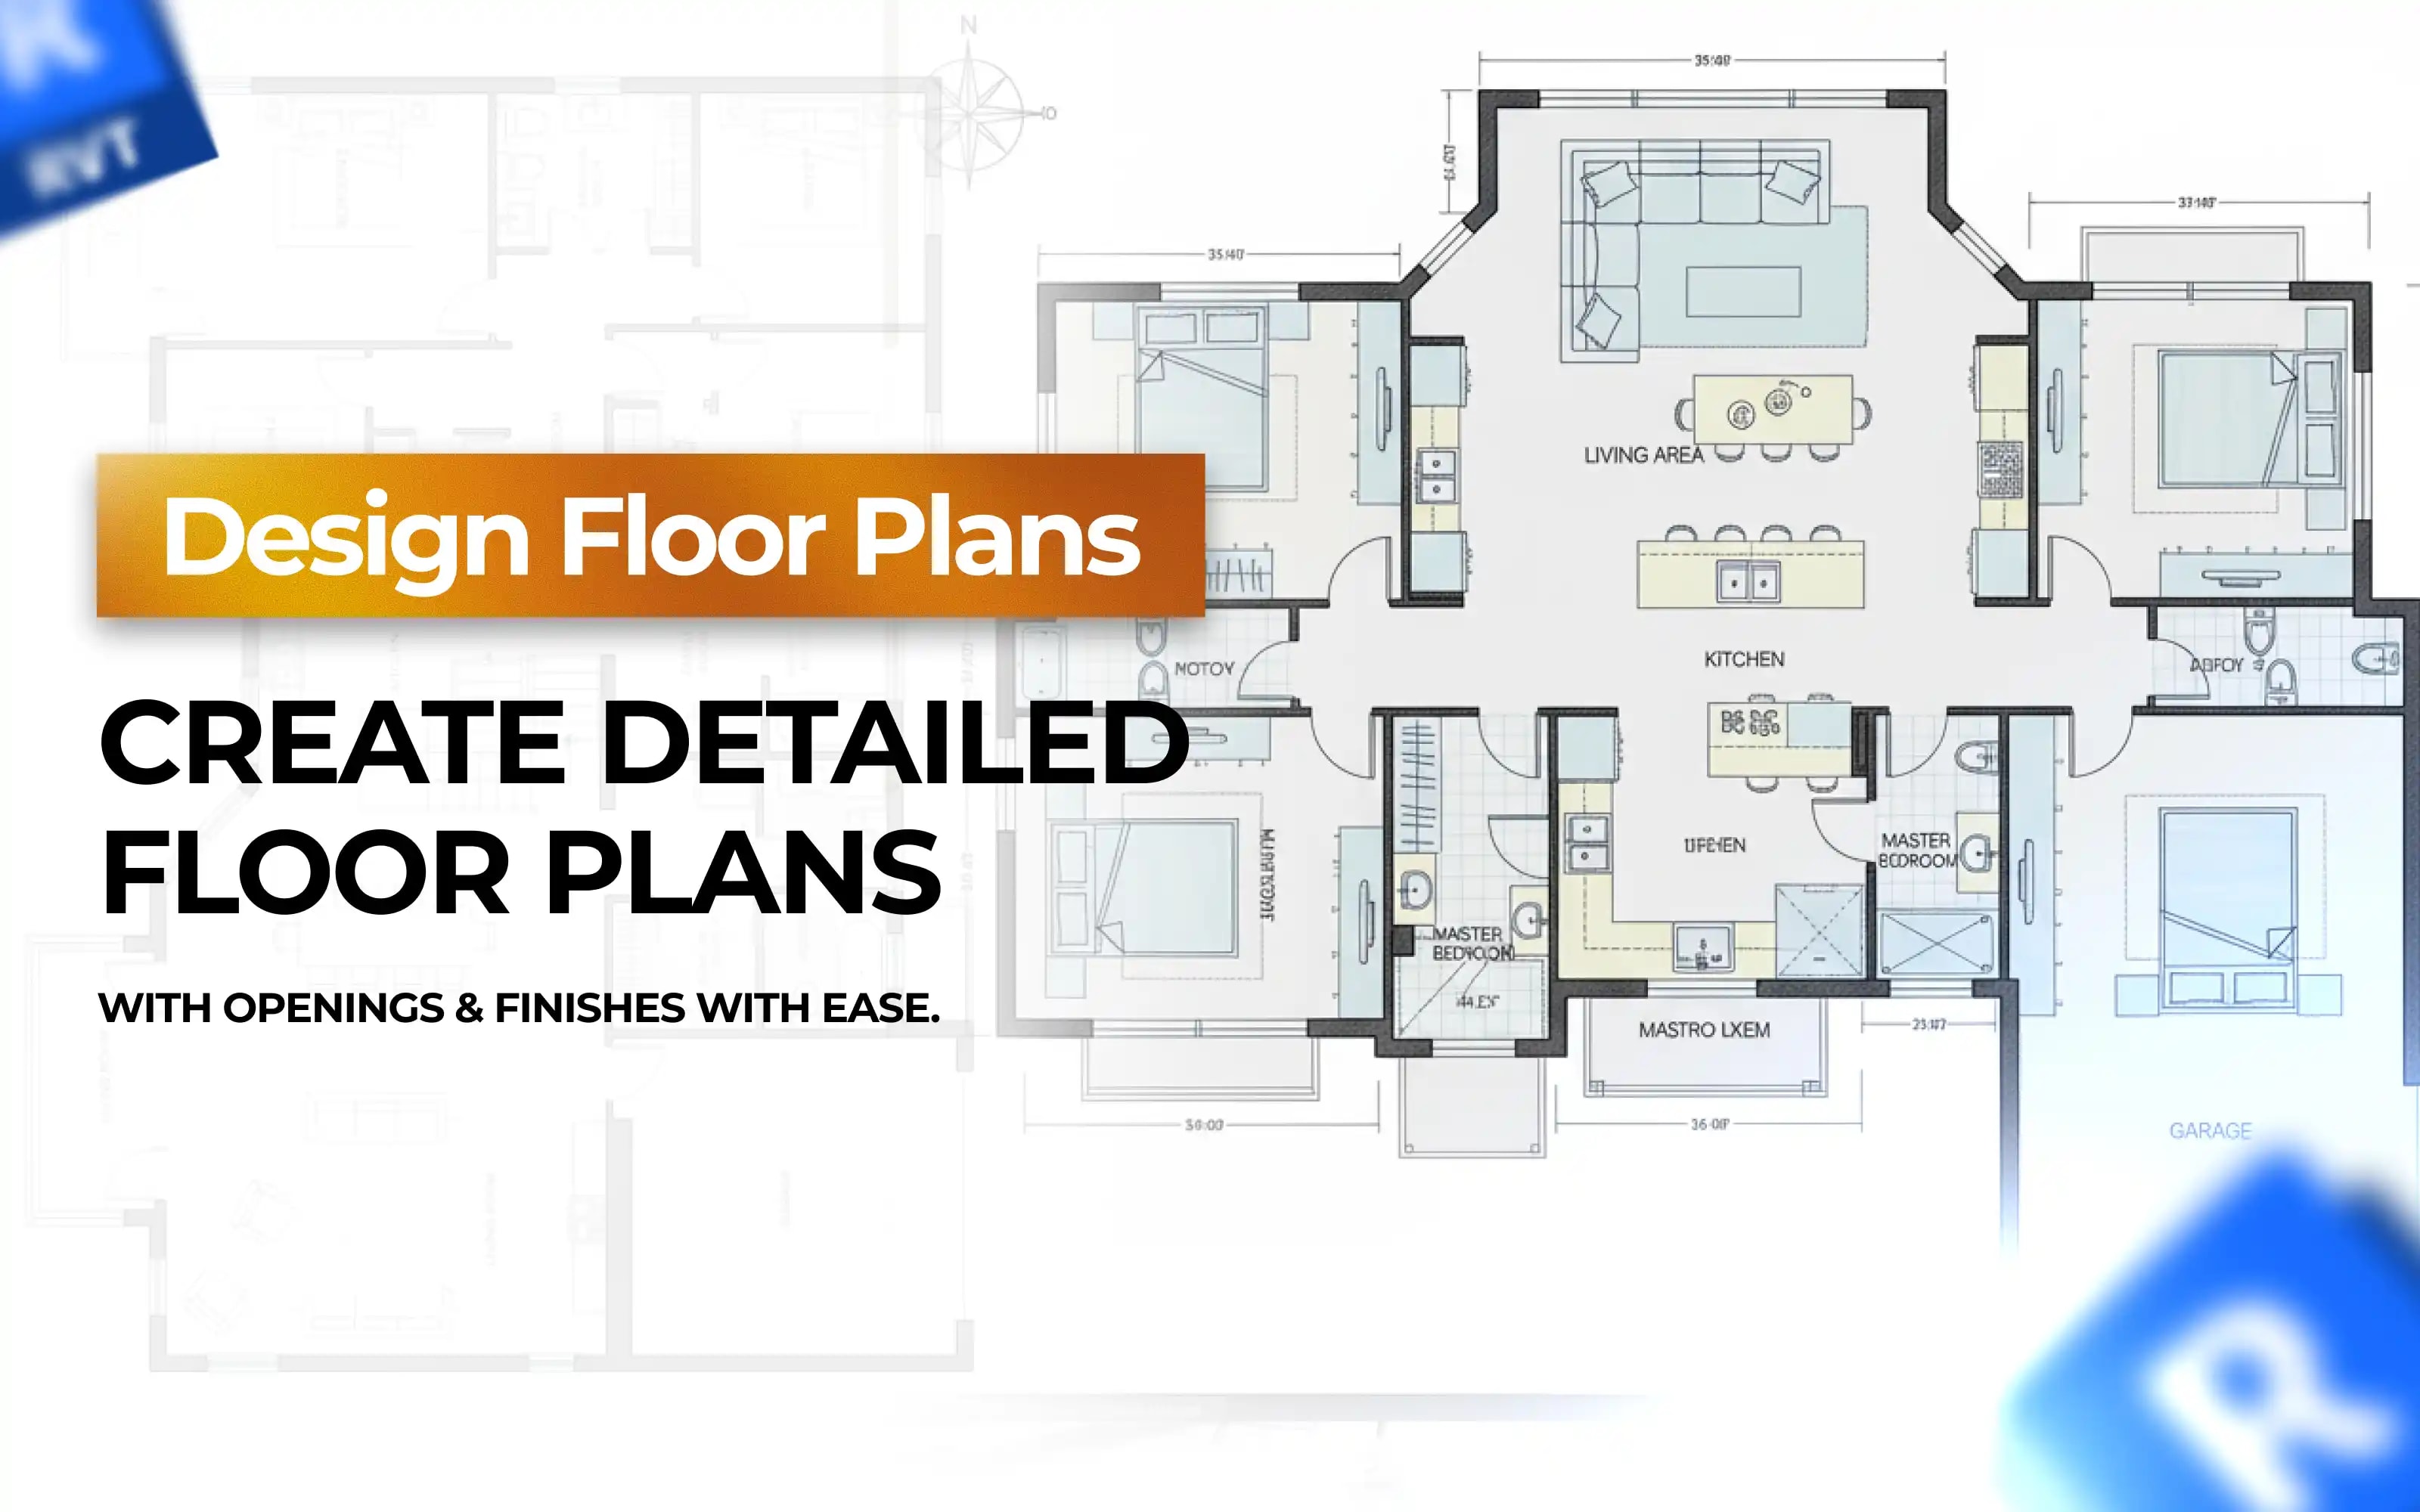
A well-designed floor is the foundation of any architectural or structural project. In Revit, floor plans are not just flat surfaces—they form the basis for spatial planning, circulation, and aesthetic appeal. With Revit, designers and civil engineers can create highly detailed and versatile floor systems, including standard architectural floors, sloped surfaces, composite structures, finish-only layers, and floors with openings for stairs, elevators, or ducts.
This step-by-step guide will help you understand Revit floor plans, teach you how to add openings and finishes, and explore advanced floor types to deliver professional-quality models. By mastering these skills, you can enhance both your design accuracy and your workflow efficiency.
For those looking to explore more Revit modeling skills, check out our guides on How to Design a Staircase Using Revit and How to Design a Ceiling Using Revit.
Section A: Key Concepts of Floor Design in Revit
Architectural Floors Plan
These are the standard building floors that define the interior layout. In Revit, you can align walls, partitions, and furniture precisely with the floor plan. Applying materials and finishes during modeling helps visualize realistic interiors and aids in client presentations.
Sloped Floors
Sloped floors are essential for ramps, terraces, and drainage-sensitive areas. Revit allows you to set slope angles on selected edges and visually annotate slopes for construction documentation. This ensures the practical and safe implementation of floors on different levels.
Composite Floors
Composite floors include multiple layers, such as structural concrete, insulation, and finishing materials. Revit enables designers to add layers with specific thicknesses and materials. This not only improves visual representation but also supports accurate material estimation for real-world projects.
Finish-Only Floors
Finish-only floors, such as thin tiles or wooden overlays, are used for interior detailing without affecting structural depth. Revit lets you place these layers independently above the structural slab, giving designers flexibility to modify finishes quickly.
Floors with Openings
Floor openings accommodate staircases, elevators, ducts, and plumbing shafts. Planning openings early in Revit ensures coordination with MEP and structural elements. The “Opening by Boundary” tool allows accurate custom shapes for various functional requirements.
Topo Surface Floors
Floors can align with topography to match natural site contours. This is crucial for sloped landscapes, terraces, and site-sensitive projects. You can import topographic data or model your own site in Revit, then place floors that integrate seamlessly with the terrain.
Decorative or Special Floors
These floors enhance interior aesthetics using custom shapes, patterns, and materials. Using Revit’s Model-in-Place feature, designers can create decorative floors like mosaics or artistic tiles, adding a unique architectural touch to interiors.
Section B: Step-by-Step Process to Create Floors in Revit
1. Creating a Standard Floor Plan
Go to Architecture tab → Floor → Floor: Architectural.
Use sketch tools like lines, rectangles, or arcs to outline the floor boundary.
Assign floor type and thickness in Properties.
Click Finish Edit Mode to generate the floor.
2. Adding Openings to Floors
Select the floor in the plan or 3D view.
Go to Modify → Opening by Boundary.
Draw the opening shape (circle, rectangle, or custom).
Finish sketch to cut the opening for staircases, elevators, or ducts.
3. Creating Sloped Floors
After sketching, select the floor edge and enable Define Slope.
Adjust slope arrows to set the inclination.
Useful for ramps, terraces, and parking floors.
4. Designing Composite Floors
In Properties → Edit Type, duplicate the floor type.
Click Edit Structure and add layers (concrete, insulation, flooring finish).
Adjust the thickness of each layer.
5. Applying Finish-Only Floors
Create a thin floor layer (20–50 mm) above the structural slab.
Place it for aesthetic finishes without affecting structural calculations.
6. Working with Topo Surface Floors
Import topo data or create site contours under the Massing & Site tab.
Place floors aligned with topo surfaces for accurate site modeling.
7. Designing Decorative or Special Floors
Use Model-in-Place for custom designs.
Apply textures, materials, and patterns for a realistic finish.
For more advanced Revit modeling, explore 5 Powerful Reasons to Choose Revit Architecture Software.
Section C: Best Practices for Revit Floor Plans
Use Layers Effectively
Separate structural, architectural, and finish layers. This ensures independent modification without affecting the overall model.
Add Floor Tags and Dimensions
Tag floors with level, slope, thickness, and material. Automatic updates in Revit save time and reduce errors.
Check for Coordination
Use Revit’s clash detection to coordinate floors with walls, beams, columns, and MEP systems. Early detection prevents conflicts during construction.
Leverage 3D Views
Review floors in 3D to visualize placement, check openings, and ensure alignment with surrounding elements.
Optimize Openings
Plan and place openings at early stages to coordinate with MEP, stairs, and structural elements efficiently.
Material Management and Visualization
Assign accurate materials to floors, including textures and reflectivity. This enhances client presentations and design clarity.
Documentation Automation
Generate floor schedules and take-offs automatically to save time on material calculations.
Quality Assurance
Regularly check layer consistency, slopes, and thicknesses. Analytical tools in Revit ensure compliance with architectural and structural requirements.
Section D: Why Learning Floor Design in Revit Matters
Precision in Design: Accurate modeling ensures reliable construction.
Versatility: Manage a variety of floors, from structural slabs to decorative finishes.
Efficiency: Automate dimensions, schedules, and documentation.
Career Growth: Mastering floors enhances value for architects, civil engineers, and BIM modelers.
Check out our Revit Training Programs to master floors, roofs, ceilings, and other structural elements.
Conclusion
Creating Revit floor plans with openings and finishes is essential for architects, designers, and civil engineers. From basic architectural slabs to sloped, composite, and decorative floors, Revit equips you with the tools for precise modeling, visualization, and documentation.
Mastering floor design in Revit enhances your workflow efficiency, ensures better coordination with other building elements, and strengthens your career prospects in BIM modeling.
Explore related content:
Frequently Asked Questions
1. How do I create a basic floor plan in Revit?
To create a basic floor in Revit, go to the Architecture tab → Floor → Floor: Architectural. Use sketch tools to draw the boundary, assign floor type, and click Finish Edit Mode.
2. How can I add openings in a Revit floor for stairs or elevators?
Select the floor, then go to Modify → Opening by Boundary. Draw the opening shape (rectangular, circular, or custom) and finish the sketch. This creates a cutout for stairs, lifts, or service ducts.
3. What is the difference between architectural floors and finish-only floors in Revit?
Architectural floors include full structural depth and layers like concrete and insulation.
Finish-only floors represent thin layers like tiles or wood flooring, without changing the structural slab depth.
4. Can Revit create sloped or composite floors?
Yes. For sloped floors, enable Define Slope on floor edges and adjust slope arrows. For composite floors, go to Properties → Edit Structure, and add multiple layers (e.g., concrete, insulation, tiles).
5. Why should I use Revit for floor plans instead of AutoCAD?
Unlike AutoCAD, which is mainly 2D drafting-based, Revit is a BIM tool. It allows you to design, visualize, schedule materials, and detect clashes in one model, making floor planning more accurate and efficient.